Installing Door Sill Plate Rivets
How to install rivets in a Nova Sill Plate
Follow the step by step installation of the new sill plate rivets. I have a limited supply of the correct new sill plate rivets.
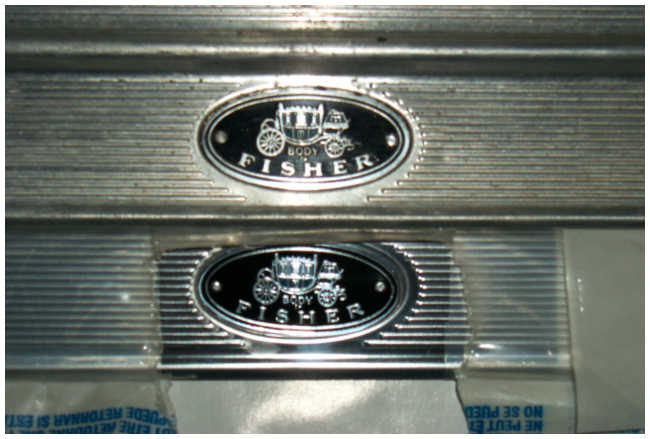
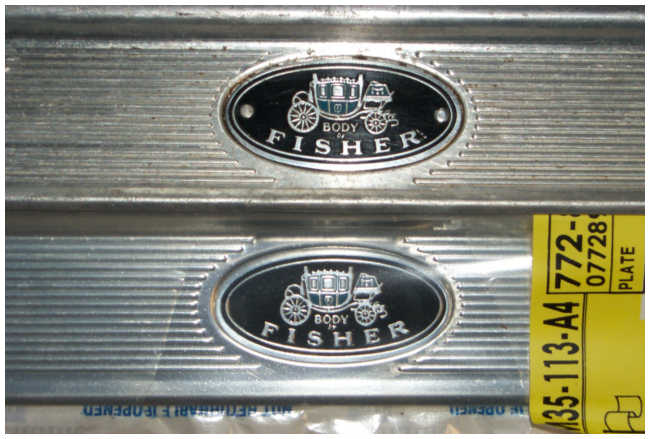
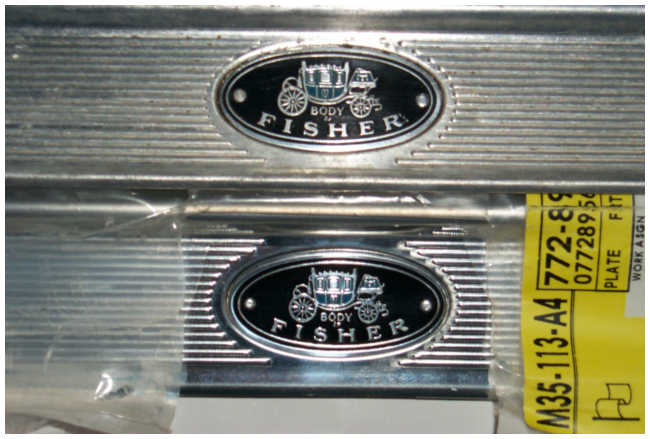
Top is an original 1970 Nova Door Sill Plate with riveted Fisher tag.
Bottom is a newer production N.O.S. Door Sill Plate with the glued on Fisher Tag
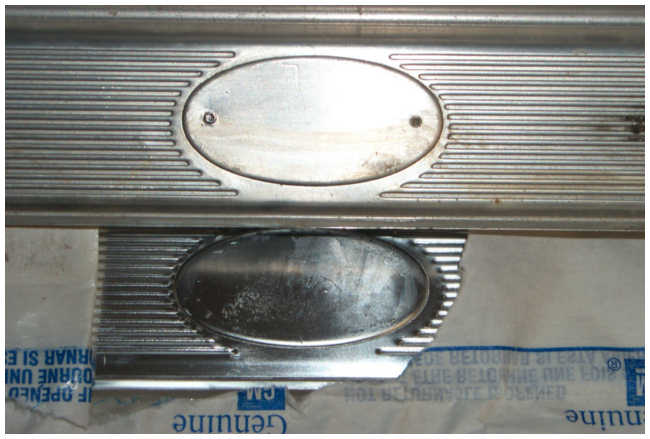
Here is the back side showing the rivets on the original sill plate. Notice the L stamped into each plate to indicate left side.
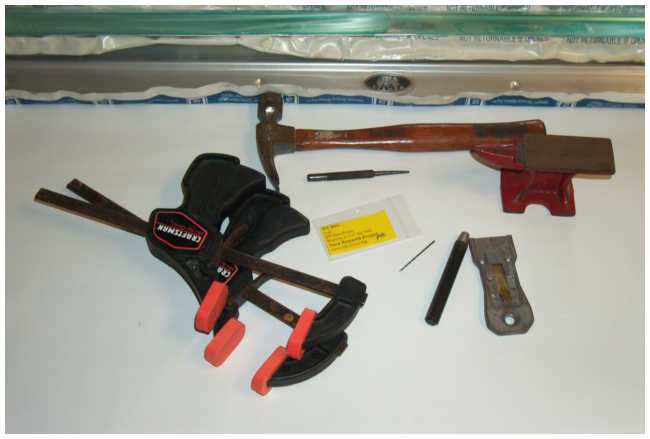
These are the tools that will be used to install the sill plate rivets to the N.O.S. plates.
These are the four rivets and a paper template to help locate the holes. Notice the small size of these new rivets? A small needle nose pliers might make the task easier.
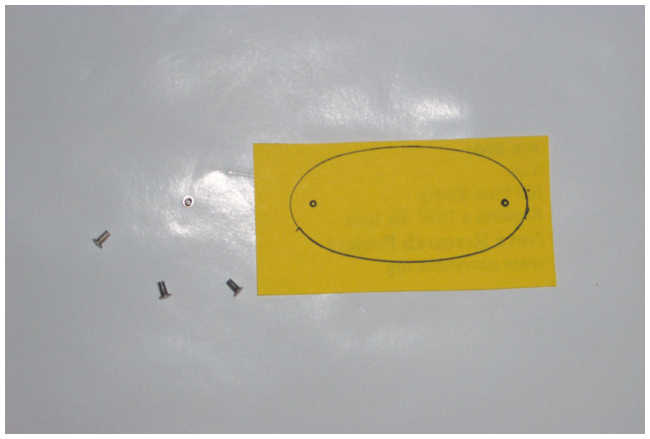
First step is to align a template or old tag on top of the new tag. This provides the correct hole placement.
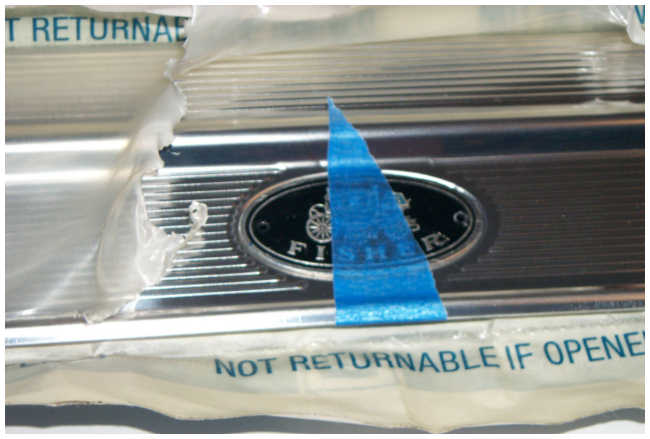
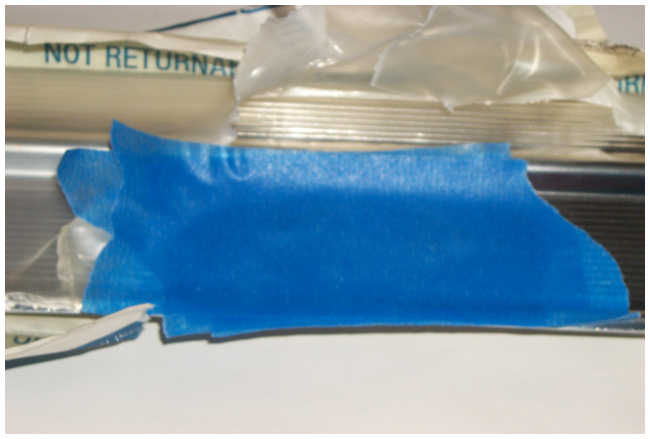
Painters low adhesion tape is used here. To add protection for the soft metal surface and paint on the tag and to hold the template firmly in place for drilling the new holes.
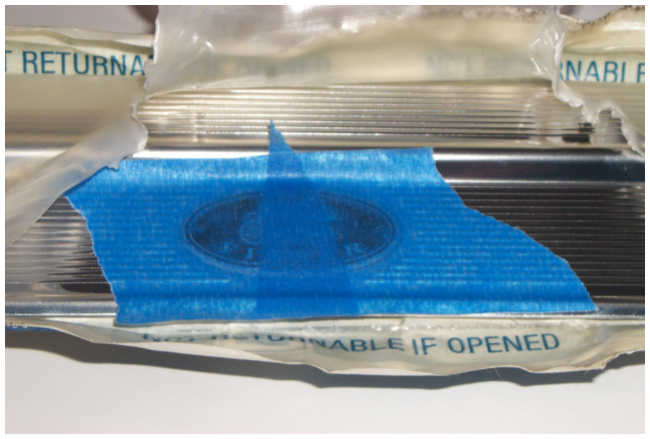
Carefully use a center punch to dimple the tag. Hand pressure alone is sufficient. Use a 1/16" drill to add the holes to the N.O.S. sill plate. Go slow and carefully!
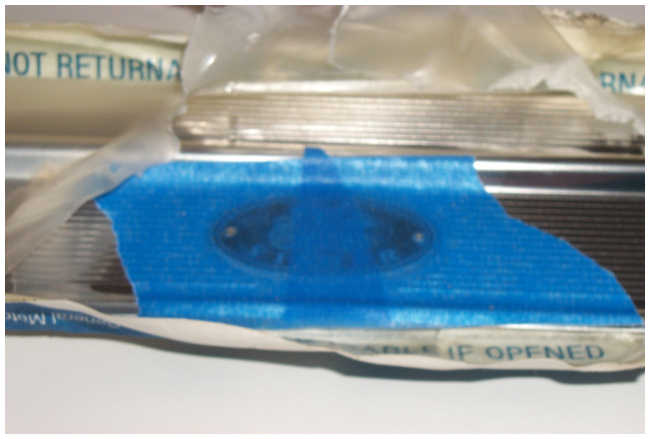
Remove the tape and the metal shavings to keep them from damaging the finish as you install the rivets. Here is the glued on plate with the new holes. The new holes are in the exact location as the original. I have noticed that the holes are not always in the same place. Some are higher and some are lower from the factory.
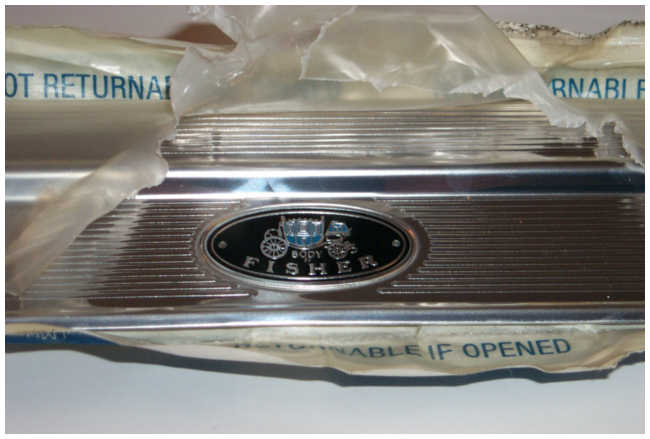
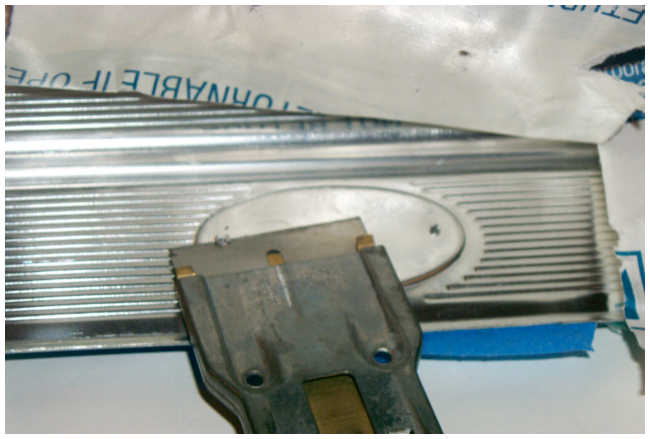
Here I am using a razor blade to CAREFULLY use a razor knife to remove the burs from the bottom of the plate. If you use a larger drill, be very careful to not enlarge the hole.
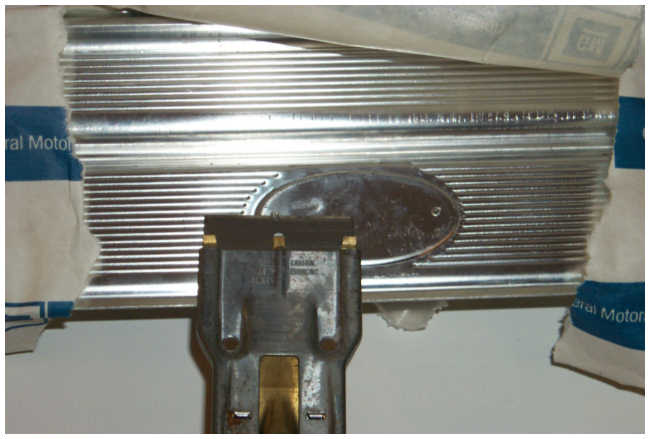
Here are the new holes as seen from the bottom side with the flashing removed and ready to install the rivets.
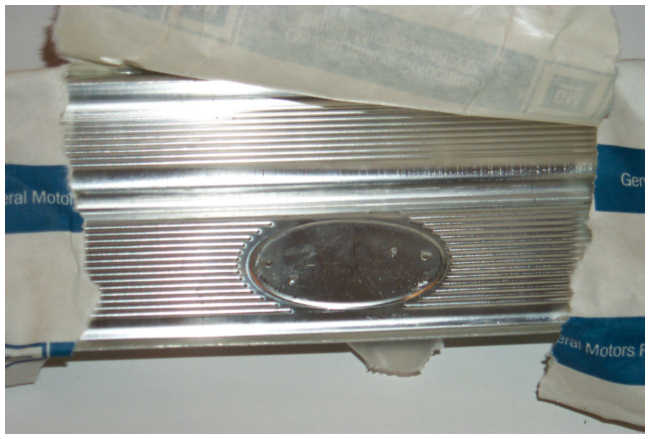
Insert the new rivets into the new holes and add several layers of tape to hold them in place AND protect the sill plate.
Here are how the new rivets look after they are set. There is more detail as the right sill plate is completed.
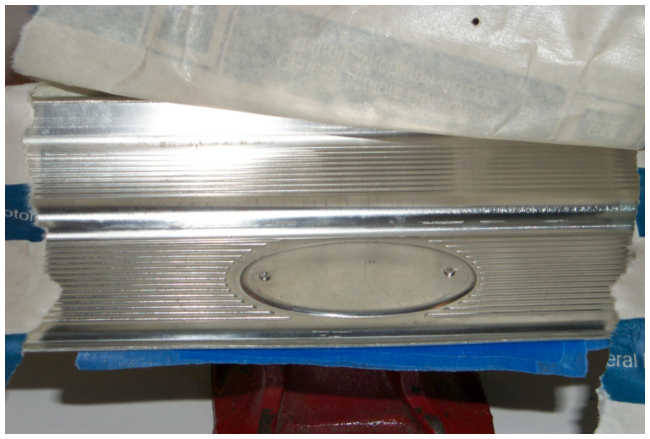
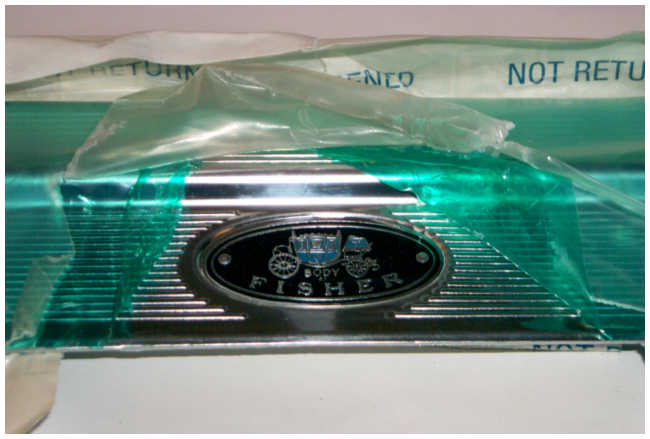
Here is the completed sill plate! I have noticed that some of the factory installed rivets have a distinct dimple. Others factory rivets do not have the dimple.
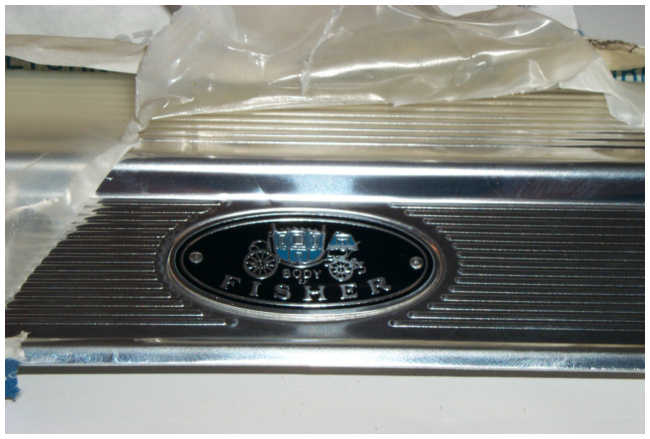
This is the before shot of the right side sill plate.
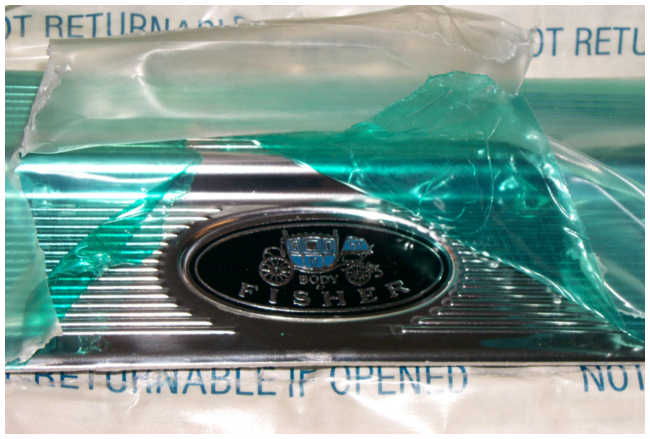
Holes drilled.
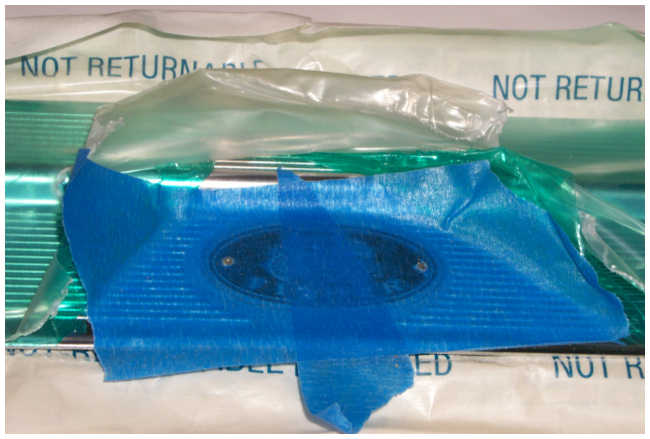
Burs on the bottom side.
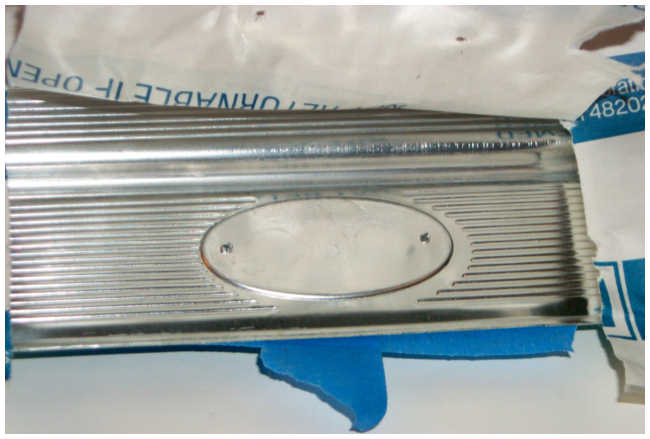
The burs are removed with the razor knife.
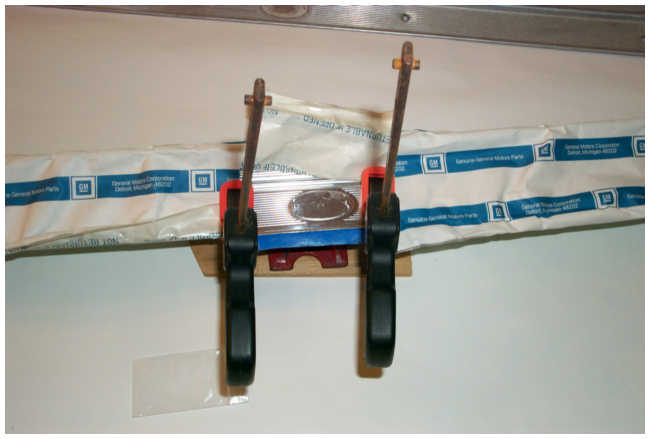
It is handy to have a helper to hold things steady. Else it is very important to clamp the sill plate to a flat surface before setting the rivets.
These are tubular rivets. The edges are rolled over by the rivet set.
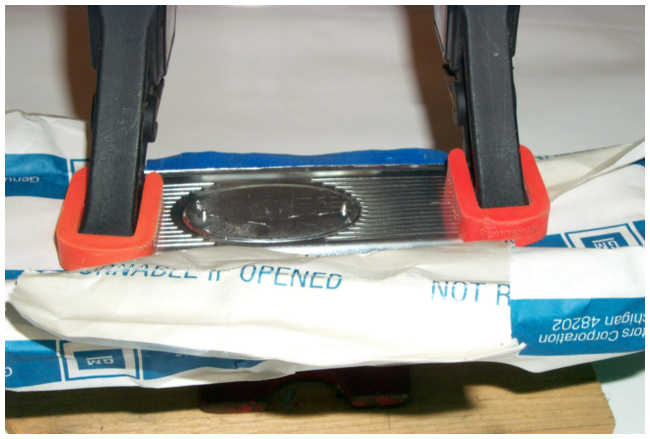
Here is a close up of the new rivets before they are set. These rivets are just a little bit long but still work OK.
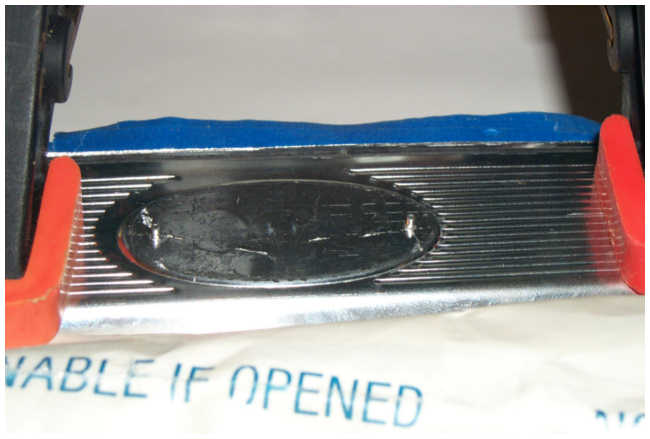
Here are the new rivets after being set with he correct rivet set.
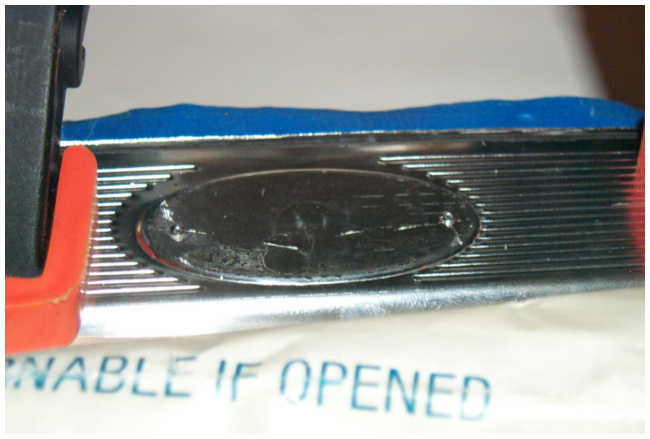
The finished right side sill plate.
Here is the original door sill plate along with the finished N.O.S. plate. Note observation from the passenger side plate on many cars shows that these rivets were painted black I would expect that was before installed. I can not imagine it being done after the fact. Unless the the whole Fisher Body tag was painted after installation.
Here is the other finished N.O.S. plate. These door sill plates are for sale.
